Thursday, May 15, 2014


I found some pictures of pieces I did a while ago, thought I post them just for old time sake. I still have have a couple of these, cause they never sold. But I liked them to much to toss them.
The one above I still have hanging in the house. 
It's handmade paper and twigs 
 This one sold. 
handmade paper and twine on reused wood
 this one sold. 
handmade paper and twine on reused wood
 hand made paper tiles on recycled newspaper 36 in x 64 in
sold
 handmade paper tiles on recycled newspaper. 18in x 36in
sill have this one.

Tuesday, May 28, 2013

Strawberry Rocks


Making Strawberry Rocks!
Why you ask!
If birds are eating your strawberries, You can put a few of these Strawberry Rocks next to your plants and when the birds hurt their beaks trying to eat them they don't like it and don't come back to that bush. So it says on the internet, We'll see if it works.

Monday, April 29, 2013

The Gator

 Just finished a remake of my Gator peice.
Originally it was hung on the fence outside (for about a year) and the weather did it's part.
It is made of found wood and handmade paper, latex paint.
It's just over 5 feet (62 inches) long and 8 inches at it widest point. 

Monday, April 8, 2013

Picture made from recycled newpaper and indian ink

 I soak the paper overnight in water. It can also be soak it in very hot water for a few hours.
I perfer overnight soaking because, besides softening the paper it also soaks out some of the ink. 
Both ways work and I have use both methods.
 
 After it soaks I use a regular kitchen batter mixer.
I fill the buckets only as full as the mixing blades are long.
This ables me to mix the buttom without putting the mixer itself into the pulp.
I beat the pulp until all the paper breaks down.


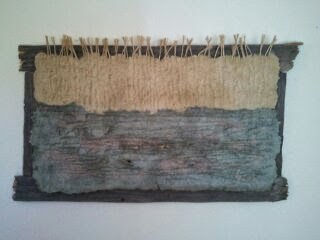
 I then pour a thin layer on the dickle.
This is not really necessary
I just like giving myself a sort of canvas to work on when I'm pouring the picture.
 
 
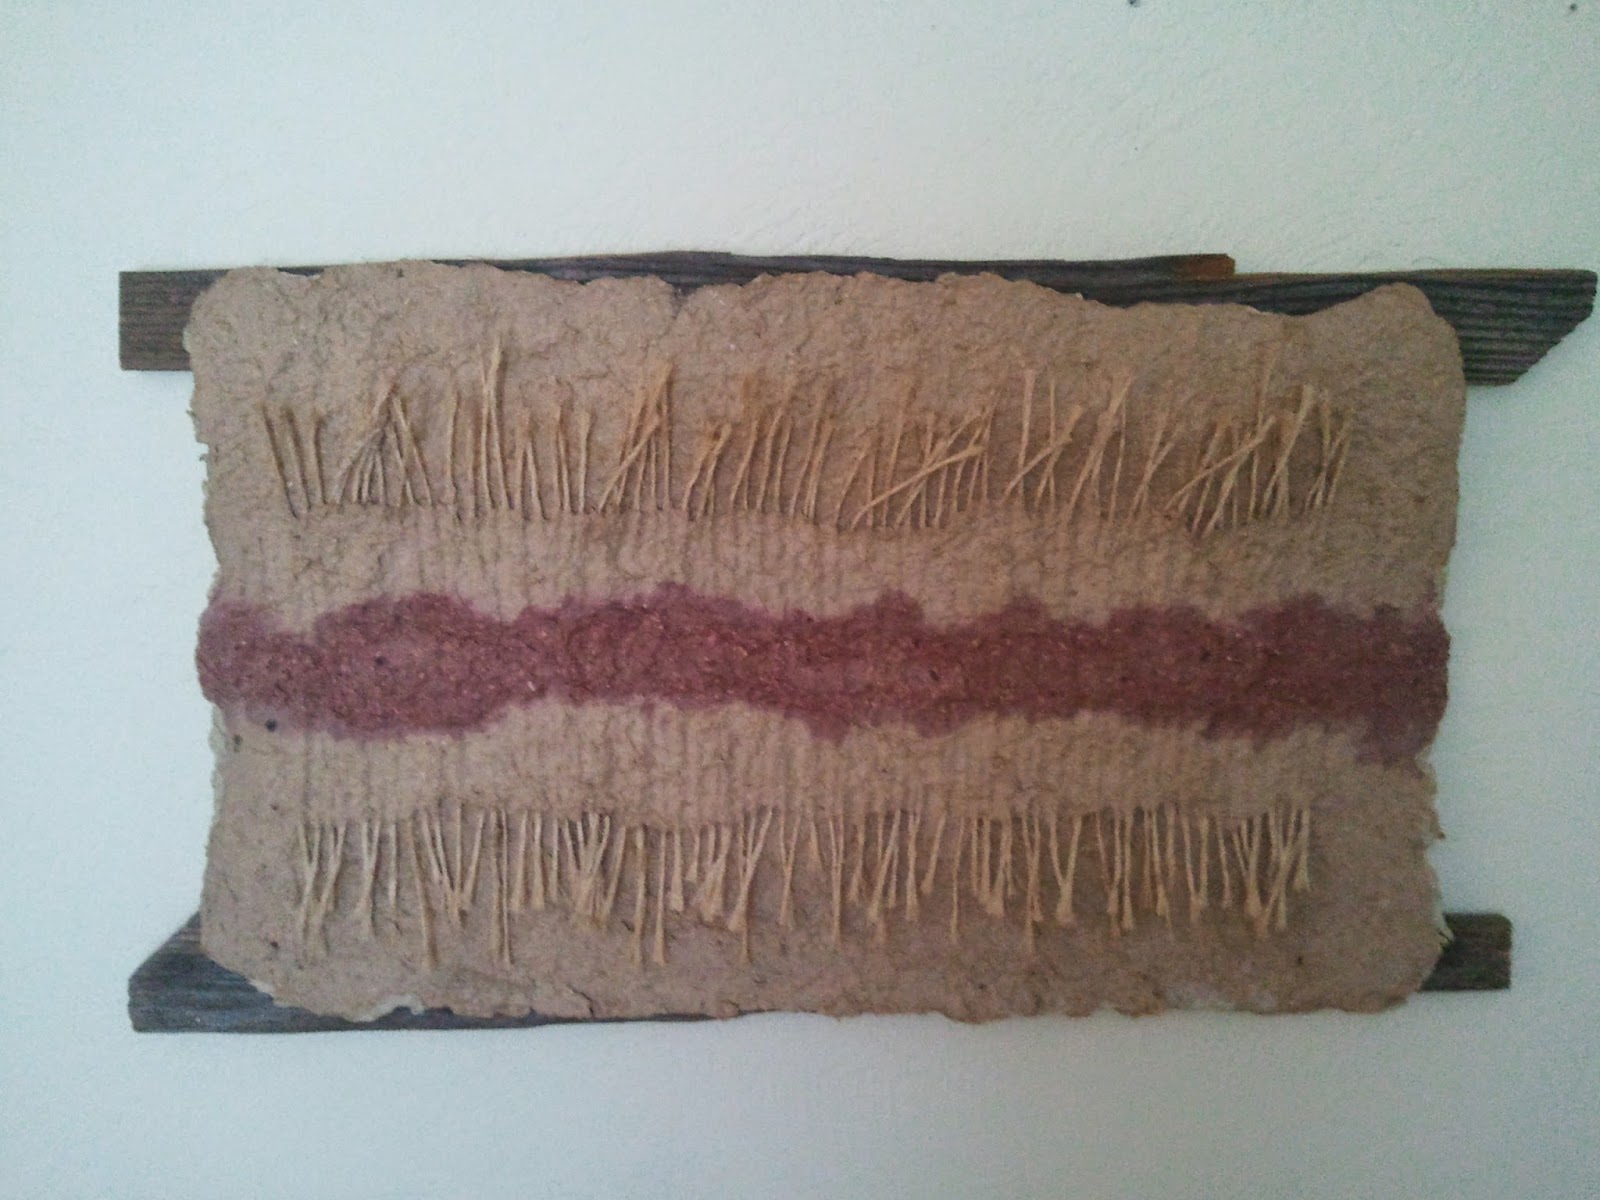
 I then decide how much I'm going to need in each color and add the ink, dye or paint.
In this case I chose to use Indian ink
 
 
I always make more of each color than I think I will need.
Just because it a real pain to not have enough and have to stop everything to make more.


 I use different types of applicators to apply the layers of pulp.
Such as measuring cups, turkey basters, eye dropper.
 
 
 I will let this dry for a day and then pull it off the dickel and press it.
I'll post those picture when I get it done
 
 
Remember that extra pulp I make so I don't run out.
I drain the water and and let it dry.
If I need it for another project, Just add water.

Wednesday, March 27, 2013

 Five are finished!
 
If you noticed there are six in the picture and I said five are finished. The black one in the bottom right corner is not mine. It is a wood African Ceremonial Mask that I picked up somewhere (don't even remember where it came from) But it is what inspired me to do a series of masks.
 This one is called Windy. She is made from a carboard cut out and PM clay painted with epoxy paint which is used to restore or repair sinks or bathtubs. She is about 8 inches by 12 inches and the hair extends out another 5 inches 
This little guy is called Gotta Light. He was made from left over PM clay and painted with latex paint. He is about 5 inches by 7 inches.

The Clown is done!

The Clown is done!
 
 
Yep! This little guy is done. He stands 19 inches for ground to the top of his hat. and 25 inches to the top of the balloons. From the far left of the red balloon to the right far right of his right hand (the one waving) it 20 inches. He is free standing the strins of the ballons are wire and aid in balance. he's painted with latex and sealed with polyurethane.
 
This was my first attempt at this type of sculpture and it was a learn as you go process. it turned into a 35 hour project because of my mistakes, it should have taken less than half that.
 
A Few Things I Learned.
 
1. I used balloons to mold the body, head and balloons. This was a mistake using newpaper and masking tape to make the basic shape works much better and the pieces are not hollow which makes it harded to damage .
2. I used empty paper towel and tp rolls for the arms and legs. I first put them on empty. But when I applied the PM clay they could not support the weight and the legs gave in and the arms fell off. So I stuffed them with paper and taped them into place. And tried again. . this time no problems
3. A water bottle cut in half was used to as a mold for the shoes. I filled the two half with PM clay and after they dried, removed them from the mold, cut away any excess and taped them to the legs. Using PM clay for the shoes also added weight to the base for balance. I didn't have any roblems with the shoes.
4. the balloons as I said were made from ballons this did not work well. One of them collapsed when the balloon lost it's air. I remade it with a wade of newspaper and masking tape. the one made of newpaper was the easiest to attach, the hollow ones kept spinning on the wire making it very hard to stay in one place, enough gule and you can fix anything but the newpaper balloon worked far better than the others and it was easier to make.
5. I used 14 gage wire for the balloon strings. I covered them with newspaper dipped in flour & water this worked out alright but I think I might use coated wire on the next one so I won't have to do anything with the strings.
 
I'll will be making at least one more clown. Just to see if I can do it without all the problems. And I will try to do a better job of posting with pictures of each step. So if you think you might want to try making one check back in. And if you have any suggestions on how to do it better feel free to post your comments I would love to hear them.


Saturday, March 23, 2013

Clown

I should have this little guy done tomorrow.

Not sure if I like the hat black, maybe I'll change it to blue.
Not sure if I like the white socks either, maybe paint the yellow pants all the way to the shoes